Cintel and DaVinci Resolve give new life to ‘Perth’, a Super 16 film
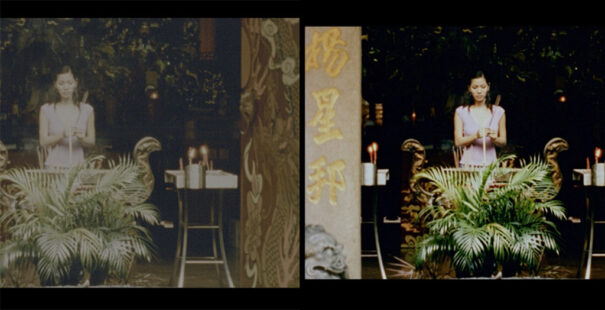
The feature film ‘Perth’, shot in Singapore in Super 16 format in 2003, has been given a new lease of life a decade later thanks to a digitisation and restoration undertaken with Cintel scanner and Blackmagic Design’s DaVinci Resolve software.
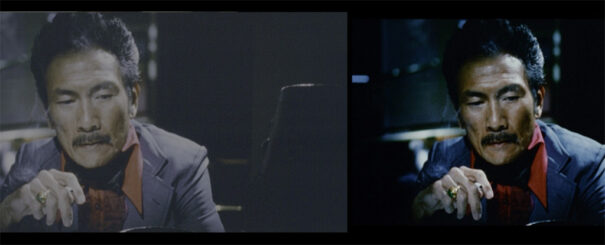
Perth tells the story of Harry Lee, a 51-year-old security guard who works part-time and dreams of emigrating to Perth, Australia, to escape a difficult life with few opportunities. Unwittingly, he becomes involved with Singapore’s underworld in order to earn enough money to fulfil his desire to live abroad. Although the film was not as successful as expected when it was released in 2003, the Asian Cinematheque’s renewed interest in restoring it for today’s audiences encouraged its director, Djinn, to explore different possibilities. Accordingly, he turned to colourist Shaley Brooks (Iris Digital Post), with whom he had collaborated on several occasions, with the aim of recovering the feature film and getting it ready for a screening of film heritage works in May.
Brooks didn’t have much to start the restoration process with, as there was only a 35mm copy belonging to the Asian Cinematheque and a PAL Digital Betacam print with a production company logo superimposed on the images, which ended up being used as an audio source. Using these resources, Brooks turned to the production company DigitalFilm Tree, which gave him access to the Cintel scanner: “The Cintel was perfect for this project. I especially like the CRI file format because the data footprint isn’t huge, and the quality of the image is very good. The scanner is honestly quite simple to use. Loading the film was very straight forward, and the particle transfer rollers are nice to have. I like how the scanner interface works in Resolve. It just feels like a part of the same system, which I’m already comfortable with. So, I didn’t have to learn some new piece of software to get started scanning.”
Challenges in the Perth restoration
While there were no difficulties with the technical aspects of digitising 35mm tape, using two different sources for audio and images proved to be a challenge for Brooks. Brooks says: “One of the biggest issues was the condition of the print versus the PAL Digital Betacam we used for an audio source. The release print was missing frames at the head and tail of each reel. I had to slow down some shots to fill the gaps. It definitely affected sync in a couple of spots.”
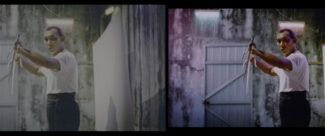 Once the film was digitised, Brooks was able to improve its finish using some of the tools in DaVinci Resolve Studio software, such as its automatic dirt and dust removal and flicker correction features for images recorded on tape: “I did the automatic dirt removal and deflicker passes separately. I rendered a new mezzanine DPX sequence with the deflicker and dirt fixes baked in. I also converted the signal to an ACES format at this step. This allowed me to color without any system slow down. When I found issues that needed to be fixed from the first pass, I was able to fix only those frames and render a new DPX frame to replace it.”
On the other hand, the wide variety of features included in DaVinci Resolve Studio came in handy for Brooks when dealing with some of the more complex issues: “For something like painting out big scratches, I used Fusion inside of Resolve, which I have been using a lot recently. I consider Fusion an important part of my toolbox now. Taking the time to learn to use it as a novice has been great. I am blurring the lines between color and VFX!”
¿Te gustó este artículo?
Suscríbete a nuestro RSS feed y no te perderás nada.


